Ever wondered what’s going on inside your Xbox One controller? Spoiler alert: it’s not just a magic button factory! Whether you’re looking to fix a sticky button or just satisfy your curiosity, taking apart your controller can be a fun and rewarding adventure. Plus, it’s a great way to impress your friends with your newfound tech skills.
Tools Required
Taking apart an Xbox One controller requires specific tools. Using the right equipment simplifies the process and minimizes the risk of damage.
Recommended Tools
- Torx Screwdriver: A T8 or T9 Torx screwdriver effectively removes the screws on the controller’s outer shell.
- Phillips Screwdriver: A small Phillips screwdriver helps with internal component screws.
- Plastic Pry Tool: This tool easily separates the casing without scratching or damaging the surface.
- Magnetic Mat: A magnetic mat organizes screws and small parts to prevent loss during disassembly.
- Tweezers: Fine-tipped tweezers assist in handling small components for precision.
Additional Tools
- Suction Cup: A suction cup aids in lifting sections of the controller without causing wear.
- Heat Gun or Hair Dryer: Applying gentle heat softens adhesive, making it easier to remove parts.
- Multimeter: A multimeter checks for electrical issues during reassembly, ensuring proper functionality.
- Flashlight: A flashlight illuminates hidden areas inside the controller, aiding in inspection.
- Work Gloves: Wearing gloves protects hands from static electricity and sharp edges while handling components.
Step-by-Step Guide
Disassembling an Xbox One controller involves a few essential steps. This guide covers preparation, opening, and removing internal components.
Preparing the Controller
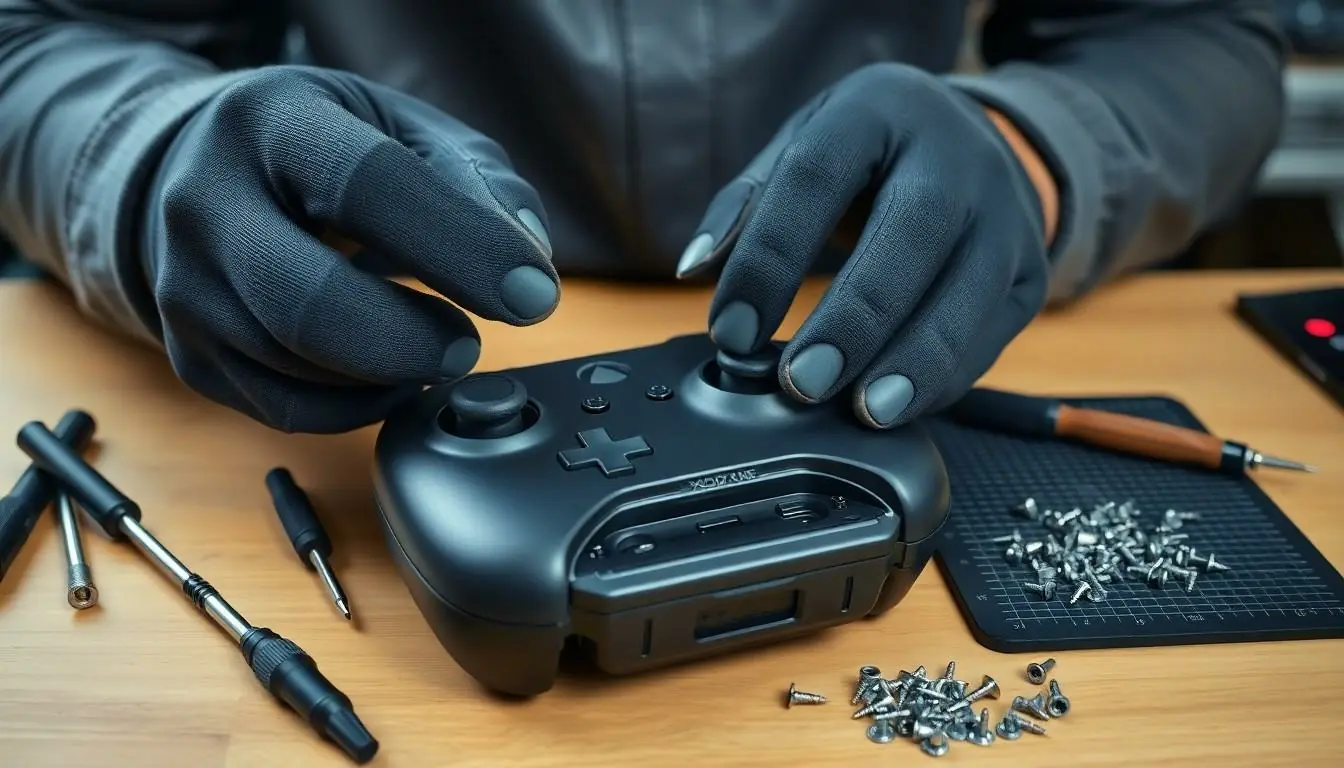
Start by gathering the required tools: a Torx screwdriver, Phillips screwdriver, and a plastic pry tool. Switch off the controller and remove any batteries or attachments. Clean the outer surface to avoid debris getting inside during disassembly. Lay out a magnetic mat to hold screws in place, preventing loss during the process. Wear gloves to avoid fingerprints, ensuring a cleaner interior work area. Having everything organized makes the entire process smoother and more efficient.
Opening the Controller
Use the Torx screwdriver to remove the screws located on the back of the controller. After removing screws, gently insert the plastic pry tool into the seam along the edges. Carefully work around the perimeter to detach the front and back halves of the casing. Listen for clicks as plastic clips release. Employ patience during this step to avoid cracks or breaks in the casing. With the halves separated, the internal components become accessible for further exploration.
Removing Internal Components
Locate the internal screws securing the battery compartment cover and other parts in place. Unscrew them using the appropriate screwdriver. Gently lift the internal components, starting with the battery pack and moving on to circuit boards. Disconnect wires and connectors systematically to avoid damage, noting their placements for reassembly. Utilize tweezers to assist with small parts, ensuring precision. Taking care at this stage optimizes success when reassembling the controller.
Common Issues
Disassembling an Xbox One controller can lead to some common problems. Understanding these issues helps provide effective solutions.
Troubleshooting Tips
Check for loose wiring or disconnected components if the controller fails to power on. Inspect the battery compartment for corrosion, as this can impact functionality. It’s not uncommon for buttons to become unresponsive; cleaning those with isopropyl alcohol often resolves the issue. Another frequent problem involves sticky buttons. Applying a little silicone grease can improve performance dramatically. If the controller vibrates inconsistently, examine the vibration motors to ensure they are correctly connected. Testing with a multimeter can also identify if any internal components fail.
Preventing Damage
Avoiding damage during disassembly requires careful handling of tools. Use a plastic pry tool to open the casing gently, minimizing the risk of cracking it. Don’t apply excessive force on screws, as stripped screws can complicate reassembly. Keep screws organized on a magnetic mat to prevent loss or mix-up. It’s wise to wear gloves, as this prevents fingerprints on sensitive areas. Ensure the workspace is well-lit for better visibility while working on small parts. Lastly, handle internal components with tweezers for precision and to prevent accidental damage.
Reassembly Process
Reassembling the Xbox One controller requires careful attention to detail. Follow the steps closely to ensure that everything fits perfectly.
Putting It Back Together
Begin reassembly by securely positioning the internal components inside the casing. Align each piece as it was originally placed, making sure wires fit snugly without pinching. Use the Torx screwdriver to replace the screws; start with the ones near the battery compartment and work your way around. Ensure that no screws are missing and that they are tightly secured. After the screws are in place, gently press the controller casing together until it clicks back into position, verifying that there are no gaps.
Testing the Controller
After reassembly, it’s essential to test the controller before extensive use. Insert fresh batteries or connect it via USB to check for power. Power on the controller and press various buttons to confirm responsiveness. Ensure that all features like the analog sticks, D-pad, and triggers work smoothly. If any buttons remain unresponsive, revisit the assembly to check for loose connections or misplaced components. This testing phase guarantees that the controller functions correctly after being taken apart.
Conclusion
Taking apart an Xbox One controller can be a rewarding experience that enhances both understanding and technical skills. With the right tools and careful attention to detail, anyone can successfully navigate the disassembly and reassembly process.
By following the outlined steps and troubleshooting tips, users can address common issues and even customize their controllers. This hands-on approach not only resolves problems but also fosters a deeper appreciation for the technology behind gaming.
Whether fixing a malfunction or simply satisfying curiosity, exploring the inner workings of an Xbox One controller opens up a world of possibilities for gamers and tech enthusiasts alike.